Table of Contents
Benefits of No-Bake Desserts
Time-Saving and Convenient
One of the most significant advantages of no-bake desserts like peanut butter balls is their time efficiency. These treats require no preheating or waiting for ovens so you can prepare them in under 20 minutes. This makes them an excellent choice for last-minute gatherings, quick snacks for kids, or satisfying late-night cravings.
Moreover, no-bake recipes eliminate the complexity often associated with traditional recipes. You don’t need to worry about precise measurements for rising agents or maintaining consistent oven temperatures. This simplicity ensures you can whip up a batch even with minimal kitchen experience.
Beginner-Friendly
No-bake recipes are a fantastic way to build confidence for those new to cooking. The straightforward steps of combining ingredients, mixing, and rolling make these recipes virtually There’sroof. There’s little room for error, ensuring success even for first-timers.
No-bake recipes like peanut butter balls are a fantastic way to build confidence. If you’re looking for another simple, beginner-friendly bake, try these soft and flavorful Cinnamon Streusel Muffins.
Perfect for Dietary Customizations
No-bake peanut butter balls are inherently flexible. They can be easily adapted to meet specific dietary needs. For instance:
- Use gluten-free oats for a gluten-free option.
- Swap out regular peanut butter for almond or sunflower butter to accommodate allergies.
- Choose natural sweeteners like honey or maple syrup for a healthier alternative to sugar.
Essential Ingredients

The Core Components
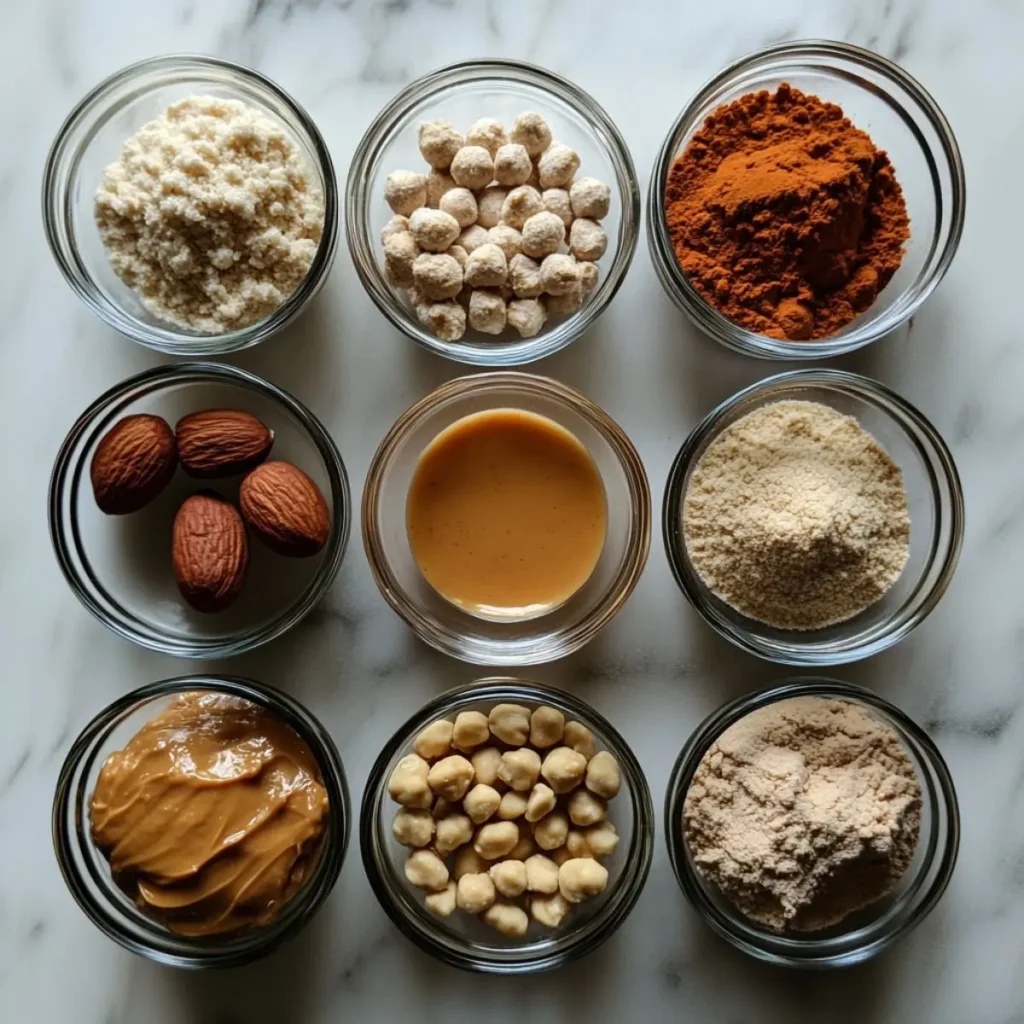
Creating no-bake peanut butter balls starts with a few basic ingredients that combine to deliver the perfect flavor Here’sxture. Here’s a breakdown of the must-haves:
- Peanut Butter
The star ingredient, peanut butter, provides a rich, creamy base for the recipe. Whether you use smooth or crunchy peanut butter depends on personal preference. Natural peanut butter with no added sugars or oils works perfectly for a healthier option. - Sweetener
You’ll need a sweetener to balance the nutty taste of peanut butter. Popular choices include honey, maple syrup, or powdered sugar. Each sweetener imparts a slightly different flavor:- Honey adds a floral, slightly tangy sweetness.
- Maple syrup introduces a subtle, caramel-like flavor.
- Powdered sugar keeps the mixture dry and easy to mold.
- Binding Agents
Binding agents ensure the balls hold their shape. Common options include oats, crushed graham crackers, or even coconut flour. These ingredients also add texture, making each bite satisfyingly chewy. - Mix-Ins for Flavor and Crunch
Enhance the flavor and texture with mix-ins like:- Mini chocolate chips
- Shredded coconut
- Chopped nuts (e.g., almonds, walnuts, or pecans)
- Dried fruits (e.g., raisins or cranberries)
Optional Ingredients for Customization
Want to elevate your peanut butter balls? Consider these optional ingredients:
- Protein Powder: Ideal for making these treats a post-workout snack.
- Cocoa Powder: Adds a chocolaty twist for dessert lovers.
- Vanilla Extract: Enhances the overall flavor profile with a touch of warmth.
- Chia Seeds: Packed with omega-3 fatty acids and antioxidants.
- Flaxseeds: Boost fiber and healthy fat content.
- Coconut Flour: A gluten-free alternative that adds fiber and a hint of sweetness.
- Dark Chocolate: Rich in antioxidants and less sweet than milk chocolate.
Choosing Quality Ingredients
The quality of your ingredients plays a significant role in the final taste. Here are a few tips:
- Opt for organic peanut butter for a cleaner, more natural taste.
- Use fresh, high-quality oats or graham crackers to avoid stale flavors.
- Choose semi-sweet or dark chocolate for a balanced sweetness if chocolate chips are added.
Using high-quality ingredients ensures a rich and delicious final product. This is true for no-bake desserts and baked treats like Keto Zucchini Bread, where fresh, wholesome ingredients make all the difference.
Ingredient Subsyou’reons
If you’re out of certain don’tdients, don’t worry. Here are some substitutions:
- Swap peanut butter with almond or cashew butter.
- Use agave syrup instead of honey for a vegan option.
- Replace oats with quinoa flakes for a gluten-free alternative.
Step-by-Step Recipe Guide
IngrHere’ss Listyou’ll
Here’s what you’ll need to make approximately 20 no-bake peanut butter balls:
Core Ingredients
- 1 cup peanut butter (smooth or crunchy)
- ½ cup honey or maple syrup
- 1 teaspoon vanilla extract (optional)
- 1 ½ cups rolled oats or crushed graham crackers
Optional Mix-Ins
- ½ cup mini chocolate chips
- ¼ cup shredded coconut
- ¼ cup chopped nuts (e.g., almonds or walnuts)
Optional Coating
- 1 cup semi-sweet or dark chocolate chips
- 1 teaspoon coconut oil (for melting chocolate)
Step-by-Step Instructions
Step 1: Mix the Wet Ingredients
Combine the peanut butter, honey (or maple syrup), and vanilla extract in a large mixing bowl. Stir the mixture until smooth and well blended. This step ensures that the wet ingredients coat the dry ones evenly later.
Step 2: Add the Dry Ingredients
Gradually add the rolled oats or crushed graham crackers to the wet mixture. Stir thoroughly with a spatula or wooden spoon until the mixture becomes a thick, slightly sticky dough. If you add mix-ins like chocolate chips or nuts, fold them in at this stage.
Step 3: Check the Consistency
The dough should be firm enough to hold its shape. If it’s too sticky, add more oats or graham crackers, one tablespoon at a time. If it’s too dry, add a small drizzle of honey or a teaspoon of water.
Step 4: Shape the Balls
Using a small cookie scoop or spoon, scoop out portions of the mixture and roll them between your palms into balls. Aim for uniform sizes—about 1 inch in diameter—for consistent serving sizes and presentation.
Step 5: Optional Chocolate Coating
- Mix the chocolate chips and coconut oil in a microwave-safe bowl or double boiler until smooth.
- Dip each ball into the melted chocolate, using a fork to lift it out and allow the excess to drip off.
- Place the coated balls on a parchment-lined tray.
Step 6: Chill to Set
Place the balls on a baking sheet or tray and refrigerate for 20–30 minutes or until firm. If coated in chocolate, allow the coating to harden completely.
Variations and Add-Ons

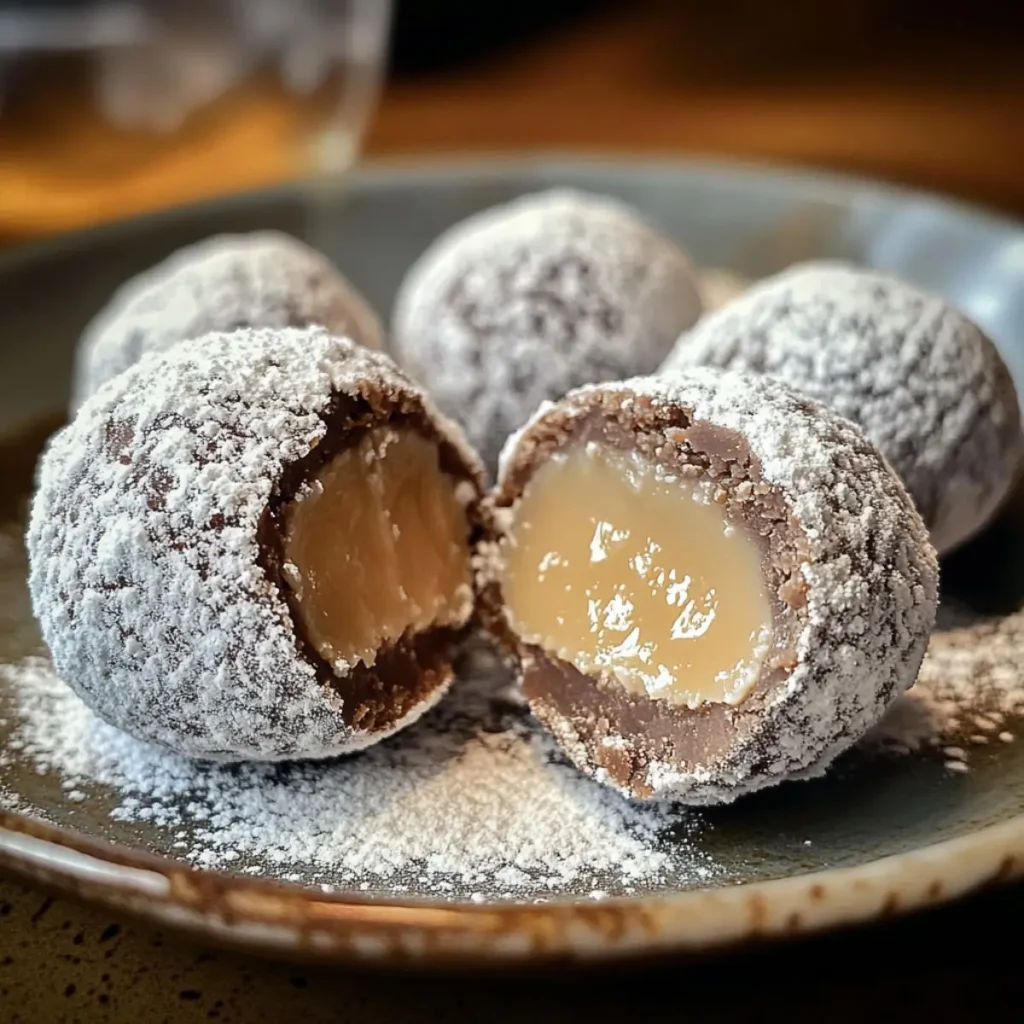
Chocolate-Coated Peanut Butter Balls
For a decadent twist, coat your peanut butter balls in melted chocolate. This variation adds a satisfying crunch to each bite and is a favorite for dessert lovers.
- Use semi-sweet or dark chocolate for a balanced sweetness.
- For an elegant touch, drizzle white chocolate over the top or sprinkle crushed nuts on top before the chocolate sets.
If you love chocolate-covered treats, you might also enjoy these indulgent Cheesecake Brownies a rich, fudgy dessert perfect for chocolate lovers.
Coconut Peanut Butter Balls
Shredded coconut adds a tropical flavor profile to the mixture. Roll the finished balls in additional shredded coconut for a fluffy, snowy appearance. This variation pairs beautifully with honey as the sweetener.
Nutty Delights
Add chopped almonds, walnuts, or pecans to the mix to enhance the nutty goodness. Toast the nuts beforehand to deepen your or. If you’re feeling adventurous, use almond or cashew butter instead of peanut butter for a new flavor experience.
Protein-Packed Balls
Mix in your favorite protein powder to turn these treats into a post-workout snack. Vanilla or chocolate-flavored powders work best and blend seamlessly into the recipe without altering the texture. Adjust the consistency by adding more honey or a splash of milk if the mixture becomes too dry.
Kid-Friendly Fun
Make the recipe fun and interactive for kids:
- Let them decorate their peanut butter balls with edible glitter, mini candy pieces, or crushed pretzels.
- Use cookie cutters to press the mixture into fun shapes instead of rolling it into balls.
Gluten-Free and Vegan Options
For dietary needs, make simple swaps:
- Use certified gluten-free oats to cater to gluten-intolerant guests.
- Opt for maple syrup as the sweetener and use vegan chocolate for a dairy-free, vegan treat.
Mix-and-Don’t Don’tnations
Don’t hesitate to experiment! Combine multiple variations to create unique flavor combinations, such as coconut chocolate-coated balls or protein-packed nutty delights. The possibilities are endless.
Tips for Perfect No-Bake Peanut Butter Balls
Achieving the Right Consistency
Consistency is the key to perfectly shaped no-bake peanut butter balls. Follow these tips to ensure success:
- Sticky but Not Too Wet: If the mixture is too sticky to roll, add more oats, graham crackers, or other dry ingredients, one tablespoon at a time.
- Firm but Not Crumbly: If the mixture is falling apart, add a small drizzle of honey or a splash of milk to bind it.
- Temperature Matters: Slightly chilled peanut butter can make the dough easier to handle if you’re working in a warm kitchen.
Rolling Like a Pro
Uniformity enhances both presentation and serving:
- Use a cookie scoop to ensure even portions. This saves time and creates professional-looking treats.
- Lightly oil your hands or sprinkle them with powdered sugar to prevent sticking while rolling.
Making Chocolate Coating Easier
A smooth chocolate coating can elevate your peanut butter balls:
- Melt chocolate slowly using a microwave or double boiler to avoid scorching.
- Add a teaspoon of coconut oil to the chocolate for a glossy, even finish.
- Use a fork or skewer to dip the balls into the chocolate, ensuring even coverage without messy hands.
Storage Tips for Longevity
Proper storage keeps your peanut butter balls fresh and delicious:
- Store them in an airtight container in the refrigerator for up to two weeks.
- You can freeze them for up to three months by placing them on a tray in the freezer until solid and then transferring them to a freezer-safe bag.
- Separate layers with parchment paper to prevent sticking.
Avoiding Common Pitfalls
Troubleshooting ensures your no-bake treats turn out perfectly every time:
- Too Sticky? Add more dry ingredients like oats or coconut flour.
- Too Dry? Incorporate more liquid sweetener or a tablespoon of peanut butter.
- Not Holding Shape? Chill the mixture for 10–15 minutes before rolling it to firm it up.
Experimenting with Textures
To create a unique texture, try mixing and matching smooth and crunchy elements:
- Use crunchy peanut butter for added bite.
- Mix in crispy rice cereal for a light, airy crunch.
- Add a pinch of coarse sea salt to each ball for a gourmet touch.
FAQs
Are No-Bake Peanut Butter Balls Vegan-Friendly?
Yes, with a few adjustments, you can make them vegan-friendly. Replace honey with maple syrup or agave syrup as the sweetener. Additionally, use dairy-free or vegan chocolate chips for any coating or mix-ins.
How Long Do No-Bake Peanut Butter Balls Last?
When stored properly:
- In the refrigerator: Store in an airtight container for up to two weeks.
- In the freezer: Store in a freezer-safe bag or container for up to three months.
Can I Add Protein Powder to the Recipe?
Adding protein powder is a fantastic way to make these treats more nutritious. Use vanilla or chocolate-flavored protein powder for the best taste. If the mixture becomes too dry after adding protein powder, compensate with more honey or milk to achieve consistency.
Conclusion
No-bake peanut butter balls are perfect for a quick, delicious, and versatile treat. Their simplicity, adaptability, and rich flavors make them a favorite for all occasions, from casual snacking to elegant dessert spreads. With endless customization options, you can cater to dietary needs, experiment with flavors, and create something uniquely your own.
📌 Looking for a savory snack to balance out your sweet treats? Try these Chicken Bites, a protein-packed bite-sized treat that pairs perfectly with peanut butter balls.

