Table of Contents
Why Homemade Bread Is Worth the Effort
Before we dive into the nitty-gritty of breadmlet, let’s k’let’s k, why should you even bother making bread at home? After all, store-bought bread is convenient. But truthere’stherthere’ssonre’sson.
Homemade bread is:
- Healthier: No preservatives, no unnecessary additives, and you control the ingredients.
- Customizable: Want a touch of rosemary or a sprinkle of sesame seeds? Go for it!
- Cost-Effective: A simple loaf costs a fraction of what you’d pay at your artisan bakery.
- Emotionally Satisfying: Baking bread is like therapy; it’s oh-so-warding.
The Basics of Breadmaking: Ingredients and Tools
The foundation of great bread lies in simple yet high-quality ingredients and the right Let’s. examin Let’ssn Let’ss.
Essential Ingredients for Homemade Bread
Breaddoesn’tdrequdoesn’taundrytaundry list of ingredHere’s Here’Here’s Here’ you’ll: you’ll
- Flour: The star of the show! All-purpose flour works, but bread flour gives a better structure and chewiness.
- Water: Lukewarm water helps activate the yeast. Too hot, and you might kill it. Too cold, won’t wake up.
- Yeast: Active dry yeast or instant yeast will do the trick.
- Salt: Enhances flavor and controls fermentation.
- Sugar or Honey (optional): Adds a touch of sweetness and helps with browning.
Tools You’ll You’ll You’ll Started
You don’t need to set it up, but a few essential tools will make your life easier:
- Mixing Bowl: A large, sturdy bowl for mixing and proofing.
- Wooden Spoon or Spatula: For combining ingredients.
- Bench Scraper: Great for handling sticky dough.
- Kitchen Scale: For precise measurements (optional but recommended).
- Loaf Pan or Baking Stone: Depending on the type of bread.
- Clean Kitchen Towel: This covers the dough as it rises.
Step-by-Step Guide to Making Homemade Bread Here’s
Here’swhereHere’sunn begins! Follow these steps to create a loaff that’simpressive.
Preparing Your Ingredients
Measure everything out before you start. Trust me; it’s more straightforward. It’s scrambling halfway through!
- Tip: If you’re using dry yeast, dissolve it in warm water with a pinch of sugar and let it sit for 5-10 minutes until it’s frothy. It’s tantt yeast. Skip this step and mix it straight into the flour.
Mixing and Kneading the Dough
This is where science meets art. Combine your ingredients in the mixing bowl:
- Start with your dry ingredients (flour, yeast, and salt) and mix them well.
- Gradually add water (and sweetener if using) until it forms a shaggy dough.
- Turn the dough onto a lightly floured surface and knead for 8-10 minutes.
Kneading might seem daunting, but think of it as a mini-workout. Push, fold, turn, and repeat! Your goal? A smooth, elastic dough that springs back when poked.
Letting the Dough Rise: Tips for Proofing Success
Proofing allows the yeast to do its magic, creating air pockets that make bread fluffy.
- Cover the dough in a lightly oiled bowl with a clean towel.
- Let it rise in a warm, draft-free spot for 1-2 hours until it doubles in size.
- How do you check? Gently press the dough with your finger. If it springs back slowly, it’s ready!
It’s son’s issue: Is the dough not rising?
- Check your yeast. Was it expired or killed by hot water?
- Is your kitchen too cold? Place the bowl near a warm oven or use a proofing box.
Shaping and Second Rise
Once proofed, gently punch down the dough to release excess air. Don’t worry; you won’t ruin it. Shape the dough into a loaf or desired form and place it in your pan. Cover and let it rise again for 30-60 minutes.
Baking Your Bread to Perfection
Now comes the moment of truth:
- Preheat your oven to 375°F (190°C) for most loaves.
- Place the bread in the center of the oven and bake for 25-30 minutes (or until golden brown).
- Tap the bottom of the loa. It is hollow, and it’s done!
Let the bread cool on a wire rack before slicing (yes, it’s hard, but trust me, it’s worth it).
Troubleshooting Common Breadmaking Problems
Even the best bakers sometimes hit a snag. But don’t worry; challenges are fixable. Let’s tackle the most common problems and how to solve them.
WhyDidn’tt MyBreaDidn’tt?
A loaf that refuses to rise can feel like a significant letdown, but it happens to everyone. Here are a few reasons this might occur:
- Old Yeast: Yeast has a shelf life. Always check the expiration date.
- Water Temperature: If it is too hot, you’ll kill yourself; if it is too cold, it won’t activate for lukewarm (around 100°F or 37°C).
- Environment: A cold kitchen can slow down or halt the proofing process.
- Solution: Move your dough to a warmer spot near a sunny window or on top of a warm oven.
How to Fix Dense or Heavy Bread
Dense bread is more like a brick than a fluffy loaf. Here’ss why itHere’sss and how to prevent it:
- Under-kneading: Gluten development is key to structure. Knead until the dough is smooth and elastic.
- Too Much Flour: When the dough feels sticky, adding more flour is tempting, but this can weigh it down. Instead, lightly flour your hands and the surface.
- Quick Proofing: Don’t rush the Don’tt. Patience is key for airy bread.
- Solution: Pay close attention to your kneading and proofing times. A kitchen timer is your friend!
Avoiding a Dry or Crusty Loaf
Nobody likes biting into dry bread. To prevent this, consider these factors:
- Overbaking: Keep an eye on your loaf and use a thermometer (the bread is done when the internal temp hits 190°F or 88°C).
- Low Humidity: A dry oven can sap moisture from your dough.
- Solution: Place a shallow pan of water in the oven while baking to create steam. This also helps develop a beautiful crust!
Enhancing Your Homemade Bread Recipe
Want to elevate your bread game to the next level? Let’s explore how to elevate your homemade loaf from basic to extraordinary.
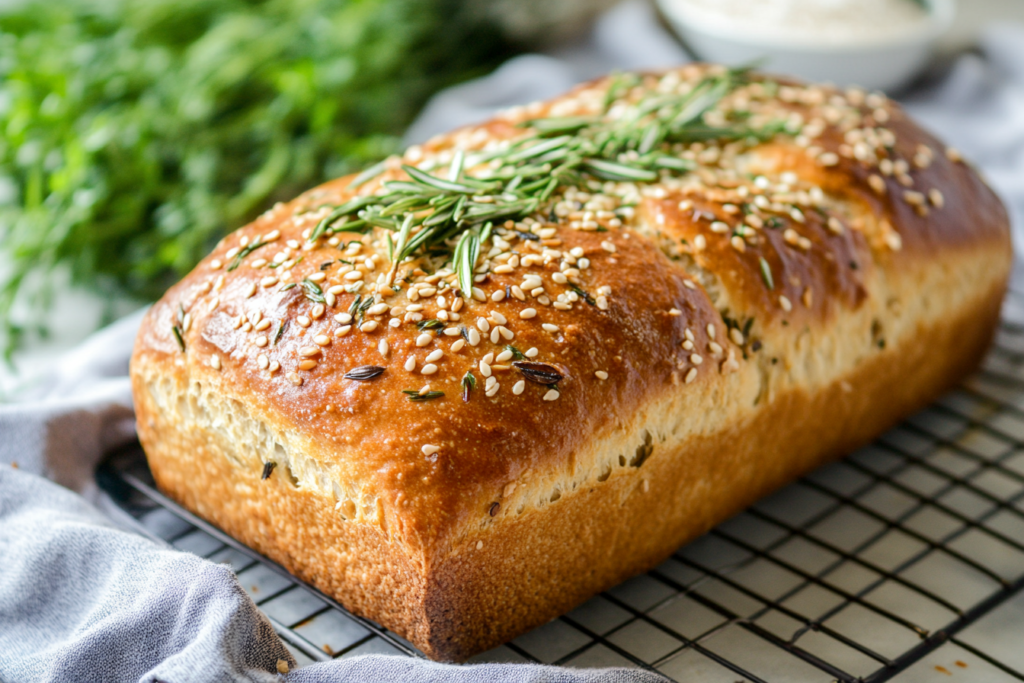
Adding Flavors: Herbs, Seeds, and Spices
Why settle for plain bread when you can infuse it with mouthwatering flavors?
- Herbs: Fresh rosemary, thyme, or basil add a gourmet touch.
- Seeds: Sprinkle in sesame, sunflower, or chia seeds for added texture and nutrition.
- Spices: Cinnamon, nutmeg, or garlic powder can turn an ordinary loaf into a flavor-packed masterpiece.
Pro Tip: Mix your add-ins directly into the dough or sprinkle them on top before baking for a professional finish.
Experimenting with Different Flour Types
The type of flour you use can drastically change your bread’s texture and flavor.
- Whole Wheat Flour: Nutty and wholesome, perfect for hearty loaves.
- Rye Flour Adds depth and a slightly tangy flavor.
- Gluten-Free Blends: Great for those with dietary restrictions.
Fun Experiment: Try a blend of flours to discover your favorite combination!
Trying Advanced Techniques: Sourdough and More
Feeling adventurous? Step into the world of advanced breadmaking techniques:
- Sourdough: Requires a starter, but the flavor and texture are unbeatable.
- No-Knead Bread: Perfect for beginners, this technique relies on a long fermentation.
- Braiding and Shaping: Get creative with your bread’s appearance, from challah to decorative boules.
Storing and Enjoying Your Bread
Now that you’ve got it af, you’ve got it all. Ensure it stays fresh and delicious.
Best Practices for Storing Fresh Bread
Homemade bread lacks preservatives, so proper storage is essential:
- Room Temperature: Store in a bread box or a clean kitchen towel for up to 2 days.
- Freezing: Slice the loaf, wrap it in plastic, and freeze it for up to 3 months. Thaw and toast slices as needed.
- Avoid the Fridge: Refrigeration can dry out your bread, so skip this step.
Creative Ideas for Using Leftover Bread
Got leftover bread? Don’t let it go. Turn something new!
- Croutons: Cube and toast for salads or soups.
- Breadcrumbs: Blend dried bread into fine crumbs for cooking.
- Bread Pudding: Transform stale bread into a decadent custardy dessert.
Inspiring Recipes to Try with Homemade Bread
Once you’ve mastered the basics, it’s time to hit the sun! These recipes take your homemade bread skills to new heights, offering delicious ways to experiment and impress your family and friends.
Garlic and Herb Bread
This flavorful loaf is a hit at any dinner table and pairs wonderfully with pasta and soups or as a standalone snack.
Ingredients:
- 3 cups bread flour
- 1 packet instant yeast
- 1 tsp salt
- 1 tbsp sugar
- 2 tbsp olive oil
- 1 ¼ cups warm water
- 3 cloves minced garlic
- 2 tbsp chopped fresh herbs (rosemary, thyme, or parsley)
Instructions:
- Mix the dry ingredients, then incorporate water and olive oil.
- Knead until smooth, then fold in garlic and herbs.
- Let the dough rise, shape it, and bake at 375°F for 25-30 minutes.
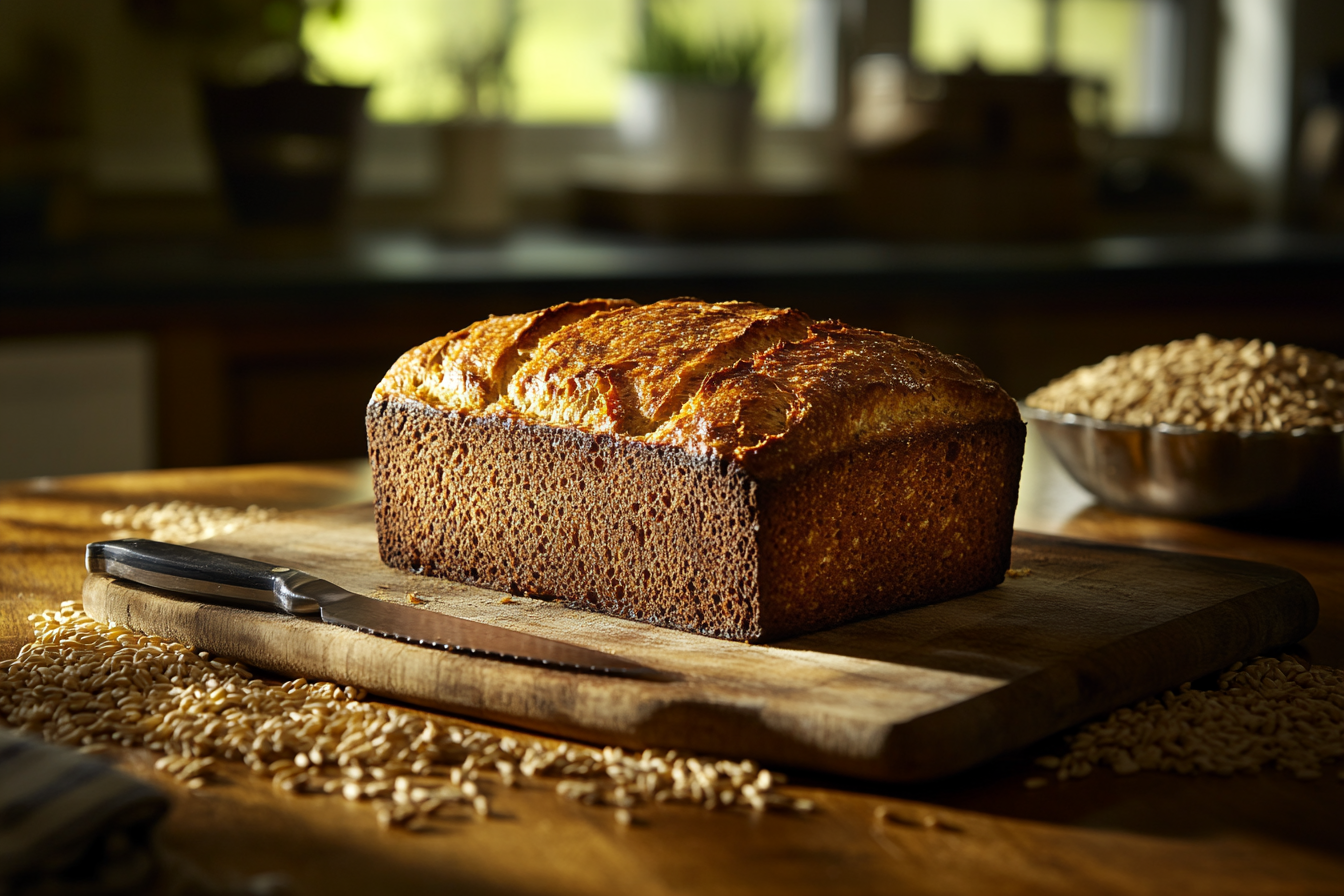
Whole Wheat Honey Loaf
This loaf is perfect for a healthy breakfast or snack. It combines the nuttiness of whole wheat with the sweetness of honey.
Ingredients:
- 2 cups whole wheat flour
- 1 cup bread flour
- 1 ½ tsp salt
- 1 tbsp honey
- 2 tbsp vegetable oil
- 1 ¼ cups warm water
- 2 tsp active dry yeast
Instructions:
- Activate the yeast in warm water and honey.
- Mix with flour, salt, and oil until a dough forms.
- Knead, let rise, and shape.
- Bake at 350°F for 30-35 minutes.
Pro Tip: Add a handful of rolled oats on top for extra texture and appeal!
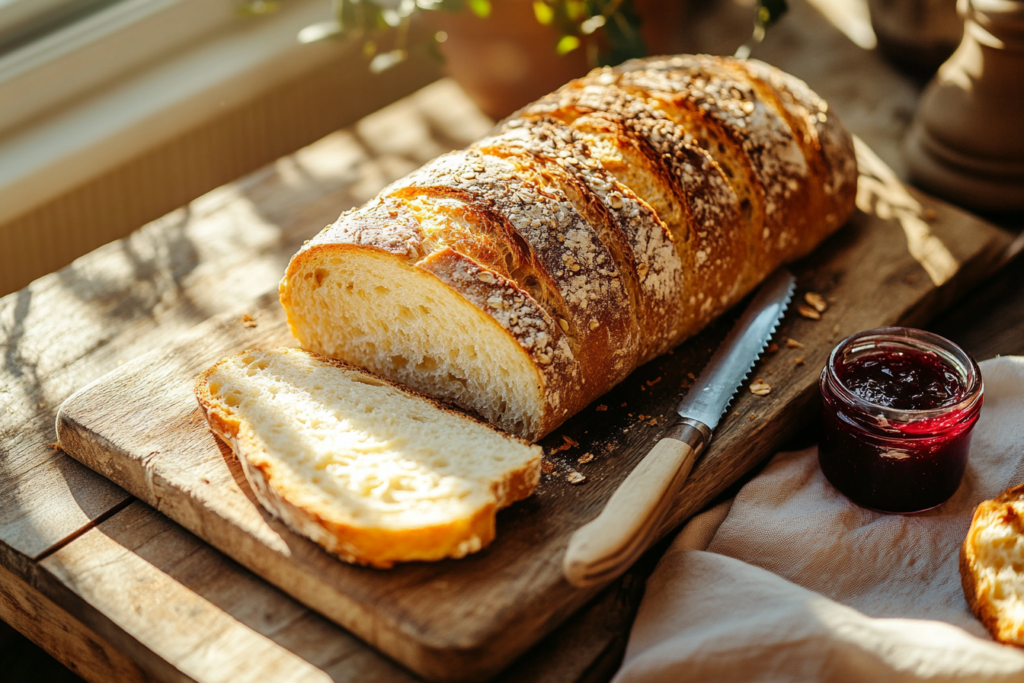
Artisan-Style No-Knead Bread
This no-knead bread is your go-to if you’re short on time (or energy). With minimal effort, you’ll have an artisan-style loaf that looks like it came from a bakery.
Ingredients:
- 3 cups bread flour
- 1 ½ tsp salt
- ½ tsp instant yeast
- 1 ½ cups warm water
Instructions:
- Mix all ingredients into a sticky dough. No kneading is required!
- Cover and let rise at room temperature for 12-18 hours.
- Preheat a Dutch oven in your oven at 450°F.
- Shape the dough, place it in the Dutch oven, and bake it covered for 30 minutes, then uncover it for 10-15 minutes.
FAQs
What is the secret to making homemade bread?
The secret lies in three key factors: patience, quality ingredients, and proper technique. Allowing the dough enough time to rise and develop flavor is crucial. Kneading the dough until smooth and elastic builds the gluten structure for a perfect texture. Finally, using fresh, high-quality ingredients like good flour and active yeast ensures success.
What are the four main ingredients in bread?
The four main ingredients in bread are:
- Flour: Provides the structure and base.
- Water: Water activates the gluten and binds the ingredients.
- Yeast: Helps the dough rise by producing carbon dioxide.
- Salt: Enhances flavor and controls yeast activity.
These simple ingredients create the foundation of any bread recipe, and you can adjust or add extras to personalize your loaf.
Is it cheaper to make your bread or buy it?
A: Making bread is often cheaper in the long run, especially for basic loaves. A homemade loaf typically costs a fraction of store-bought artisan bread. Plus, you get the added benefits of better quality, no preservatives, and the satisfaction of creating something from scratch.
Which flour is best for bread?
A: Bread flour is the best choice for most bread recipes because of its high protein content, which helps build strong gluten for a chewy texture and good rise. However, you can use all-purpose flour for softer bread or whole wheat flour for a nuttier, healthier option. For specialty breads, like sourdough, experiment with rye or spelt flours for unique flavors.
Conclusion
Making homemade bread is not only about mastering the art of kneading dough; it’s also about exploring diverse baking techniques and complementary recipes. If you’re curious about expanding your bread repertoire, check out the sourdough quick bread guide for tips on achieving that perfect tangy loaf. Pair your freshly baked bread with creative spreads or dips inspired by our homemade crackers recipe. For those exploring plant-based alternatives, our collection of vegan recipes for beginners offers unique ways to incorporate bread into a wholesome, plant-friendly diet.