Table of Contents
Introduction
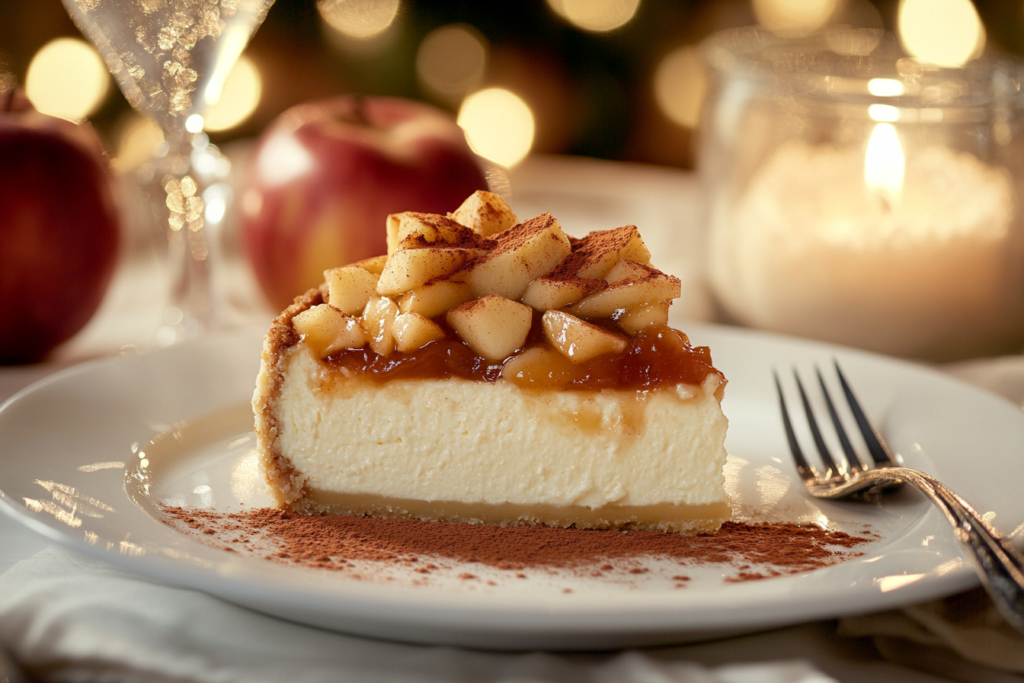
Apple pie filling is the heart and soul of many beloved desserts, from classic pies to tarts, pastries, and even pancakes. With its rich blend of tender apples, warm spices, and a luscious sauce, it’s no wonder this filling is a staple in kitchens everywhere.
Store-bought versions can be convenient, but they often lack the depth of flavor and freshness that comes with homemade. By making your apple pie filling, you can control the sweetness, spice, and texture, ensuring a customized treat every time. Plus, it’s surprisingly easy to whip up, even for beginners.
This simple apple pie filling recipe combines the goodness of fresh apples, brown sugar, cinnamon, and a few pantry staples to create a versatile mixture ready to elevate any dessert. Whether baking for a special occasion or meal-prepping for future cravings, this guide will take you through every step to make the perfect apple pie filling at home.
Ingredients for the Apple Pie Filling

Creating a simple and flavorful apple pie filling requires only a handful of ingredients, most of which you may already have in your pantry. Here’s what you’ll need:
Core Ingredients:
- Apples (5-6 medium-sized, about 6 cups sliced)
- Opt for firm, tart varieties like Granny Smith for a balanced flavor or sweeter options like Fuji for a naturally sweet filling.
- Granulated Sugar (½ cup)
- Provides the right level of sweetness and helps caramelize the filling.
- Brown Sugar (¼ cup)
- Adds depth with a slight molasses flavor.
- Cornstarch (3 tablespoons)
- Thick the sauce to coat the apple slices perfectly.
- Ground Cinnamon (1½ teaspoons)
- The key spice for that classic apple pie aroma.
- Nutmeg (¼ teaspoon, optional)
- Adds a warm, earthy undertone.
- Salt (a pinch)
- Enhances the flavors without overpowering the sweetness.
- Water (¾ cup)
- Helps create the sauce.
- Lemon Juice (2 tablespoons)
- Prevents the apples from browning and brightens the flavors.
Optional Add-Ins for Customization:
- Vanilla Extract (1 teaspoon)
- Adds a touch of sweetness and aroma.
- Ground Cloves or Allspice (⅛ of a teaspoon each)
- For a spicier kick, especially for fall-inspired desserts.
- Butter (1 tablespoon)
- Gives the sauce a glossy, rich finish.
- Maple Syrup or Honey (2 tablespoons)
- Natural sweeteners for a unique flavor twist.
Once you’ve gathered these ingredients, you’re ready to start cooking up a homemade apple pie filling that’s fresher and tastier than anything you can find in a can!
Step-by-Step Instructions
Making apple pie filling at home is straightforward and requires just a few simple steps. Follow this guide to create a luscious, perfectly spiced filling that you can use immediately or store for later.
Preparing the Apples
- Select the Right Apples:
- Choose firm, tart apples like Granny Smith for a tangy flavor or a mix of sweet and tart varieties (e.g., Honeycrisp, Fuji, or Braeburn) for a more complex taste.
- Wash and Peel the Apples:
- Wash thoroughly to remove any dirt or wax. Use a peeler to remove the skin for a smoother filling.
- Core and Slice:
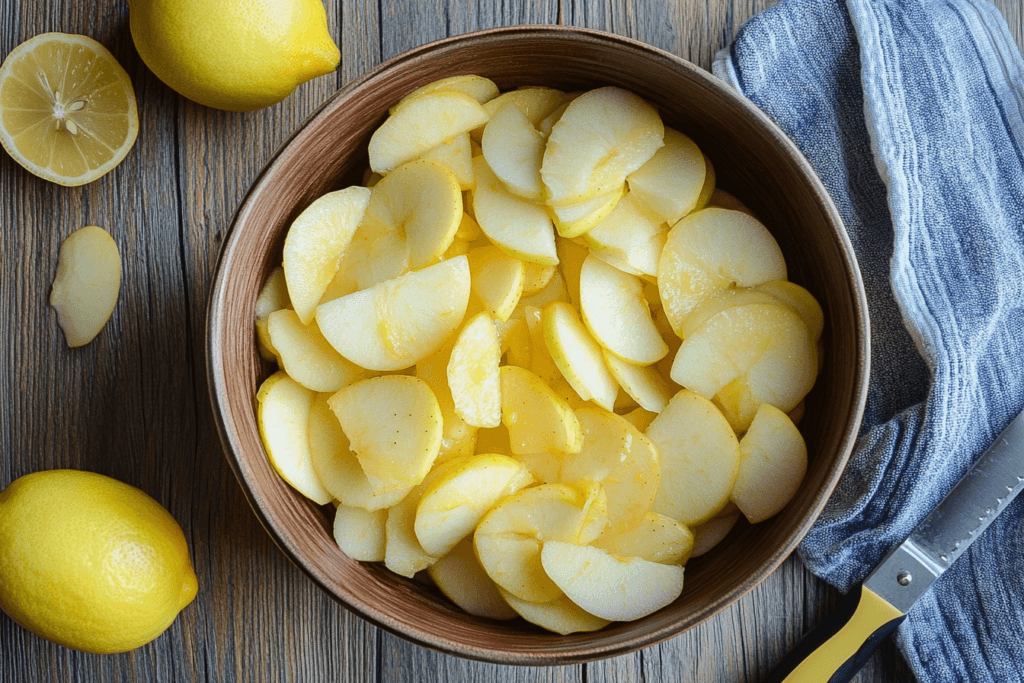
- Cut the apples into thin, uniform slices (about ¼-inch thick). Uniformity ensures even cooking.
- Toss in Lemon Juice:
- Place the slices in a large bowl and toss them with 2 tablespoons of lemon juice to prevent browning and maintain freshness.
Cooking the Filling
- Mix the Dry Ingredients:
- Combine the granulated sugar, brown sugar, cornstarch, cinnamon, nutmeg, and salt in a small bowl. Stir well to ensure the spices are evenly distributed.
- Heat the Sauce Base:
- Combine the water and the sugar-spice mixture in a large saucepan. Place it over medium heat, whisking constantly to dissolve the sugars and activate the cornstarch.
- Add the Apples:
- Add the apple slices to the saucepan once the mixture thickens slightly (about 3-4 minutes). Stir to coat the apples evenly with the sauce.
- Simmer Until Tender:
- Reduce the heat to low and simmer the apples for 10-15 minutes, stirring occasionally. The apples should become tender but not mushy, and the sauce should thicken to a glossy consistency.
- Add Optional Ingredients:
- If desired, stir in vanilla extract, butter, or other add-ins for flavor and richness.
Cooling and Storing the Filling
- Cool the Filling:
- Transfer the cooked apple pie filling to a shallow dish or baking sheet and let it cool to room temperature. Cooling prevents condensation when storing.
- Store for Later Use:
- Refrigerator: Store in an airtight container for up to 5 days.
- Freezer: Transfer to a freezer-safe bag or container and freeze for up to 3 months. When ready to use, thaw it overnight in the refrigerator.
This step-by-step process ensures a perfectly textured and flavorful filling, ready to be used in pies and pastries or as a topping for pancakes and waffles.
Tips for the Perfect Apple Pie Filling

Crafting the ideal apple pie filling doesn’t have to be complicated, but a few tips can help elevate your recipe from good to exceptional. These practical pointers will ensure that your filling is always perfectly spiced, textured, and delicious.
Choose the Right Apples
- Blend Sweet and Tart Apples:
- Combining different apple varieties creates a more dynamic flavor profile. For instance, mix Granny Smith (tart) with Honeycrisp or Golden Delicious (sweet).
- Avoid Mushy Varieties:
- Avoid soft apples like Red Delicious or McIntosh, as they can turn to mush during cooking.
Balance the Sweetness
- Taste Test Before Cooking:
- Apples can vary in sweetness depending on their variety and season. Taste your apples before starting and adjust the sugar to suit your preference.
- Use Natural Sweeteners:
- For a healthier twist, swap some sugar for maple syrup, honey, or agave nectar.
Perfect the Texture
- Cut Apples Uniformly:
- Uneven slices can result in some pieces being overcooked while others remain undercooked. Aim for even slices about ¼-inch thick.
- Don’t Overcook:
- Simmer the apples until tender but still holding their shape. Overcooking can turn the filling into a mushy puree.
Spice it Right
- Experiment with Spices:
- While cinnamon is the star, don’t hesitate to add a pinch of ground cloves, allspice, or cardamom for a unique twist.
- Add Fresh Zest:
- An orange or lemon zest can brighten the filling and add a subtle citrus note.
Achieve the Perfect Sauce Consistency
- Control the Thickness:
- If your filling is too runny, simmer it for a few extra minutes to reduce the liquid. Conversely, if it’s too thick, stir in water or apple juice.
- Cornstarch Alternatives:
- If you prefer not to use cornstarch, try arrowroot powder or tapioca starch as thickeners.
Make it Versatile
- Use it Beyond Pies:
- This filling isn’t just for pies! Use it as a topping for ice cream, oatmeal, pancakes, or yogurt or as a filling for turnovers and crepes.
- Freeze in Portions:
- Freeze smaller filling portions to easily defrost only what you need for quick desserts or snacks.
By keeping these tips in mind, you can create an apple pie filling that is not only delicious but also versatile and easy to customize.
FAQs
Can I freeze apple pie filling?
Yes! Apple pie filling freezes exceptionally well, making it a great make-ahead option for busy schedules. Once the filling has cooled completely, transfer it to a freezer-safe container or resealable plastic bag. Remove as much air as possible to prevent freezer burn, label the container with the date, and freeze for up to 3 months. When ready to use, thaw the filling overnight in the refrigerator.
What apples work best for pie filling?
Firm and slightly tart apples work best for pie filling because they maintain texture during cooking. Popular options include:
- Granny Smith: A classic choice for its tart flavor.
- Honeycrisp: Sweet and juicy with a crisp texture.
- Braeburn: Perfect for a blend of sweetness and tartness.
- Golden Delicious: Mellow sweetness and tender texture.
Combine tart and sweet apples for the best results to create a well-rounded flavor profile.
Can I use this filling for other desserts?
Absolutely! While apple pie is the most traditional use for this filling, it’s incredibly versatile. Some ideas include:
- Apple turnovers
- Toppings for waffles, pancakes, or oatmeal
- Filling for hand pies or crepes
- Mixed into a crumble or cobbler
- Spoon it over vanilla ice cream or yogurt
How long does homemade apple pie filling last?
If stored properly, homemade apple pie filling can last:
- In the refrigerator: Store in an airtight container for up to 5 days.
- In the freezer: It will stay in the freezer for 3 months when stored in a freezer-safe container.
Let the filling cool completely before storing it to prevent condensation and excess moisture.
Conclusion
Now that you’ve mastered the art of homemade apple pie filling, it’s time to put it to good use. Whether you’re crafting a traditional apple pie for a special occasion or topping your favorite breakfast treat, this filling is sure to impress. So grab your apples, roll up your sleeves, and enjoy the sweet satisfaction of creating this timeless classic from scratch
For those looking to complement their apple pie with a lighter dessert, pair it with this Healthy Cheesecake Recipe for a deliciously balanced treat. Alternatively, if you’re short on time but craving a quick and satisfying dessert, these No-Bake Peanut Butter Balls are a must-try. For an added touch of homemade goodness, consider serving your pie alongside a loaf of fresh bread using this Sourdough Quick Bread Guide.

